⚡ Key Takeaways
Get instant results in seconds — no signup.
- You want room to spread out boxes, manuals, and components.
- The single biggest cause of a failed build is mismatched parts.
- Building the core outside the case first (a "test bench") lets you confirm everything posts before you commit to cable routing.
- A good case makes assembly easier and keeps temperatures low.
Learning how to build a gaming PC is one of the most rewarding projects a PC enthusiast can take on. You save money over pre-built systems, you understand exactly what’s inside your machine, and you end up with a rig tuned precisely to the games you play. The good news? Modern parts are practically designed to snap together. If you can follow a recipe and turn a screwdriver, you can build a PC. This guide walks you through every stage, from choosing parts to that triumphant first boot.
Before You Start: Tools and Workspace
Clear a large, well-lit table. You want room to spread out boxes, manuals, and components. Grab a Phillips #2 screwdriver (magnetic tips are a lifesaver), and keep a small bowl for screws. Work on a hard surface rather than carpet to reduce static, and touch a bare metal part of the case periodically to ground yourself. A dedicated PC building tool kit with cable ties, an anti-static strap, and a parts tray makes the whole process smoother.
Picking Compatible Components
The single biggest cause of a failed build is mismatched parts. Here are the compatibility checkpoints that matter most:
| Component | What to match |
|---|---|
| CPU + Motherboard | Socket (AM5 for Ryzen 9000, LGA 1851 for Core Ultra) and chipset |
| RAM | DDR5 only on current platforms; check QVL for supported speeds |
| GPU | Physical length vs. case clearance; PCIe slot (any modern board works) |
| PSU | Wattage headroom and the right connectors (12V-2×6 for RTX 50-series) |
| Cooler | Socket bracket support and case height clearance |
For 2026 builds, a Ryzen 7 9700X or 9800X3D pairs beautifully with a B650 or X670 board, while Intel’s Core Ultra 7 lineup needs an LGA 1851 board. If you’re still narrowing down silicon, our roundup of the best CPUs for gaming breaks down the value picks. Pair your processor with a capable GPU from our graphics card guide and you’ve got the heart of the build.
Step-by-Step Assembly
Here’s the order I recommend. Building the core outside the case first (a “test bench”) lets you confirm everything posts before you commit to cable routing.
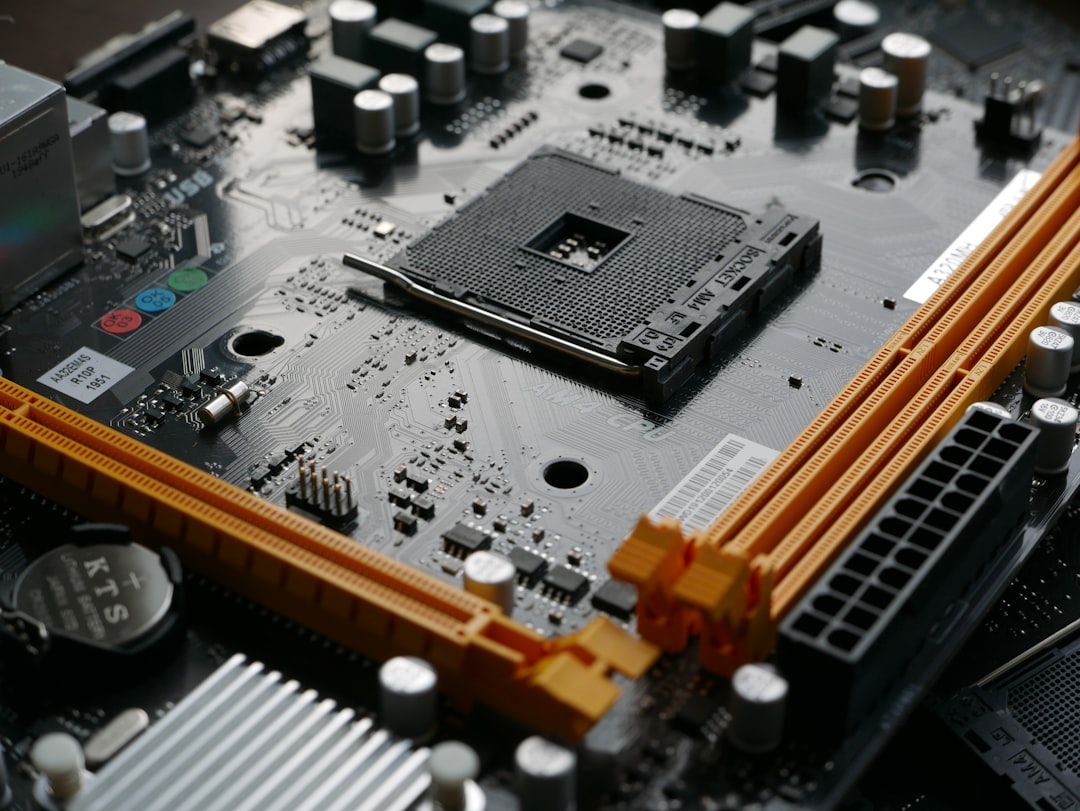
- Install the CPU. Lift the retention arm, align the gold triangle on the chip with the matching corner on the socket, and lower it gently. Never force it. Close the arm.
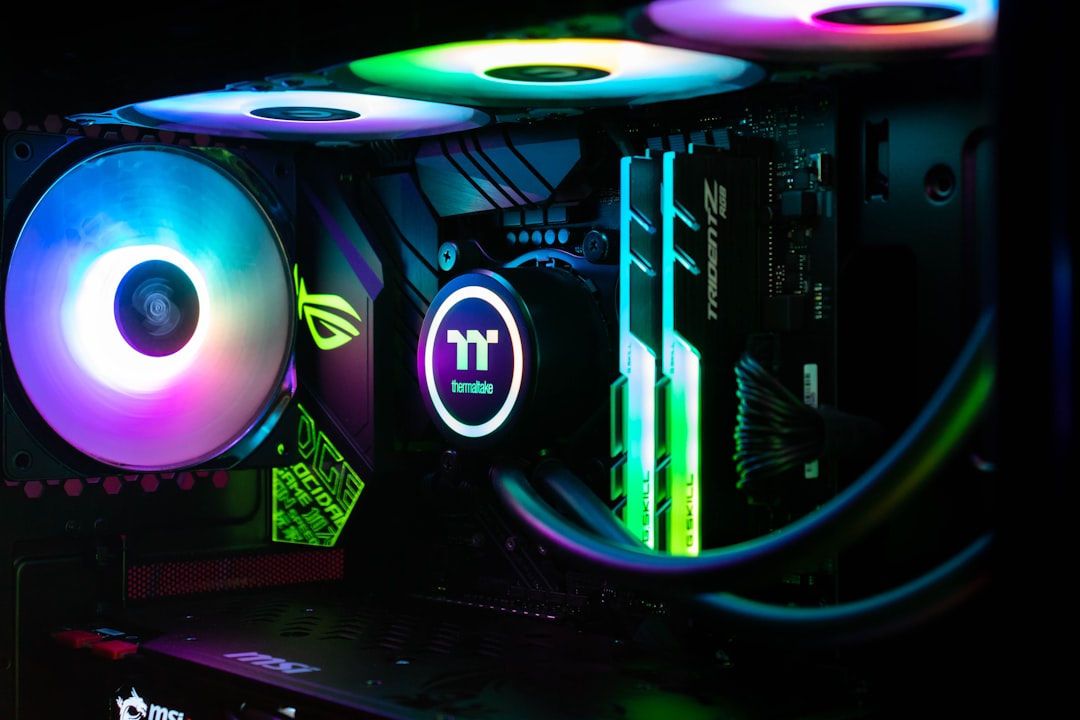
- Mount the cooler. Apply a pea-sized dot of thermal paste if your cooler doesn’t have pre-applied paste, then secure the cooler evenly in a star pattern. Plug the fan into the CPU_FAN header.
- Seat the RAM. Open the clips, line up the notch, and press firmly until both ends click. For two sticks, use slots A2 and B2 (usually slots 2 and 4) to enable dual-channel.
- Install the M.2 SSD. Slide the drive into the slot at an angle, press it flat, and secure with the tiny screw or latch. Keep the heatsink on for Gen4/Gen5 drives.
- Prep the case. Install standoffs and the I/O shield (often pre-attached to modern boards), then lower the motherboard in and screw it down.
- Mount the PSU. Fan facing down or out toward a vent. Route the 24-pin and 8-pin EPS cables first.
- Install the GPU. Remove the right PCIe slot covers, lower the card into the top x16 slot until it clicks, and screw it to the case.
- Connect everything. 24-pin to the board, 8-pin EPS to the top, PCIe power to the GPU, SATA power to any 2.5″ drives, and the front-panel headers (power switch, USB, audio).
- Manage cables. Route excess behind the motherboard tray and tie them down for airflow and looks.
- First boot. Plug in monitor, keyboard, and power. Hit the button. Enter BIOS, enable EXPO/XMP for full RAM speed, and confirm temps.
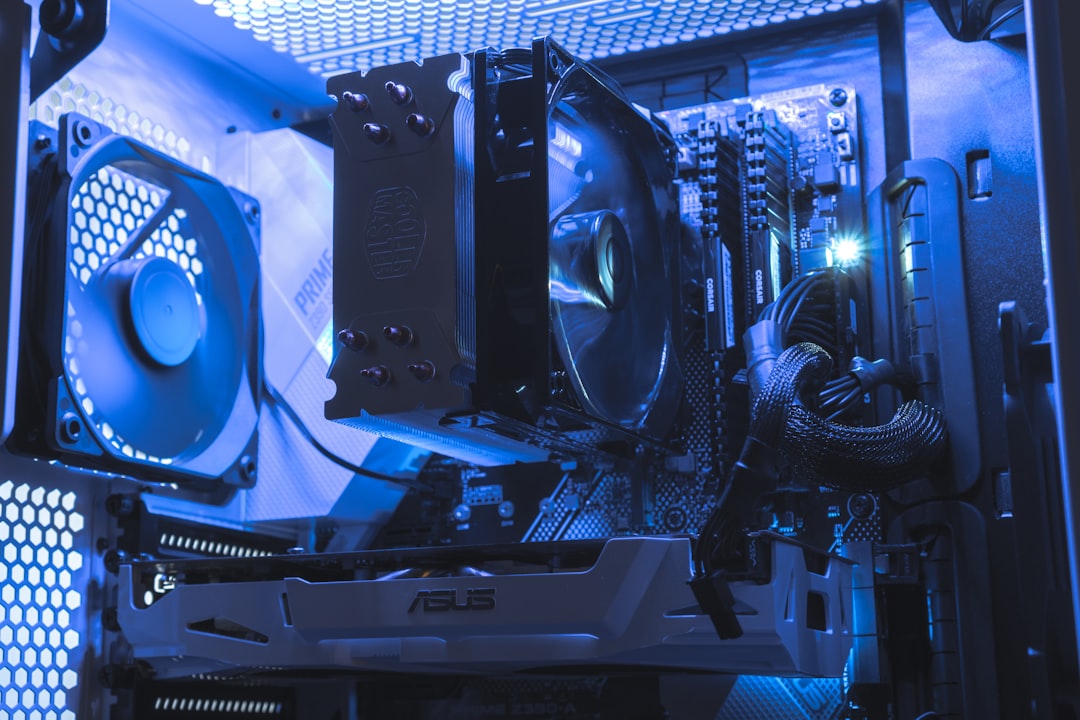
Choosing a Case That Fits Your Build
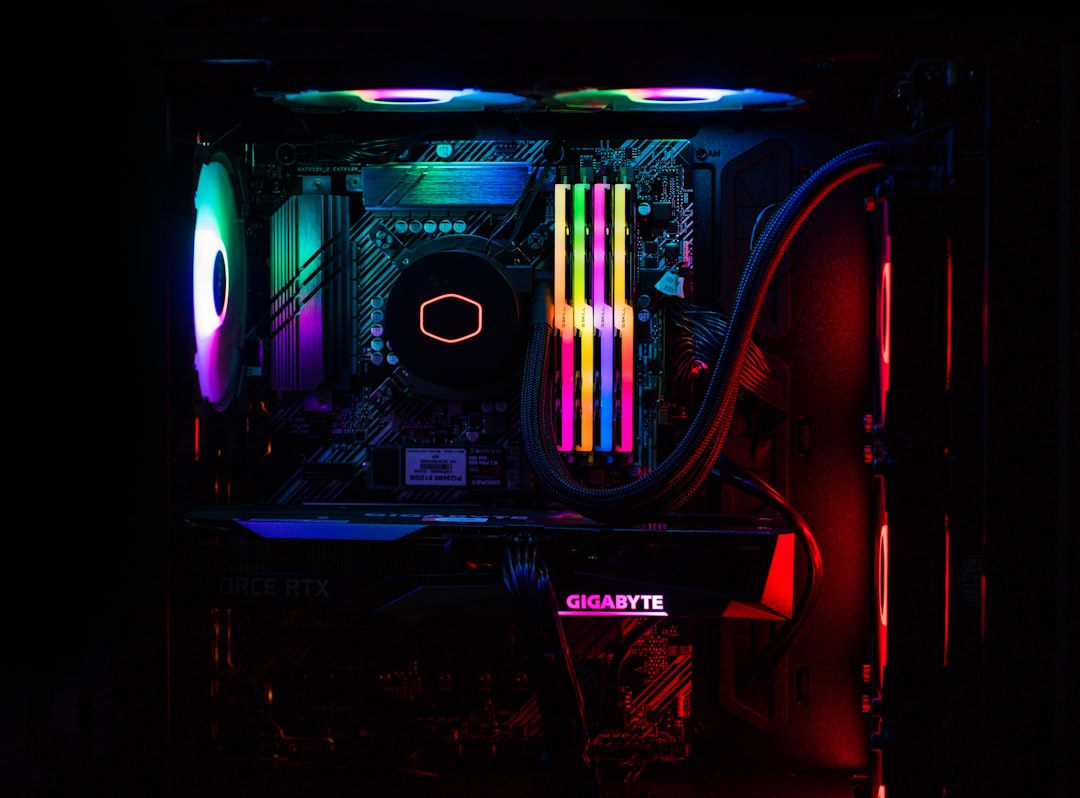
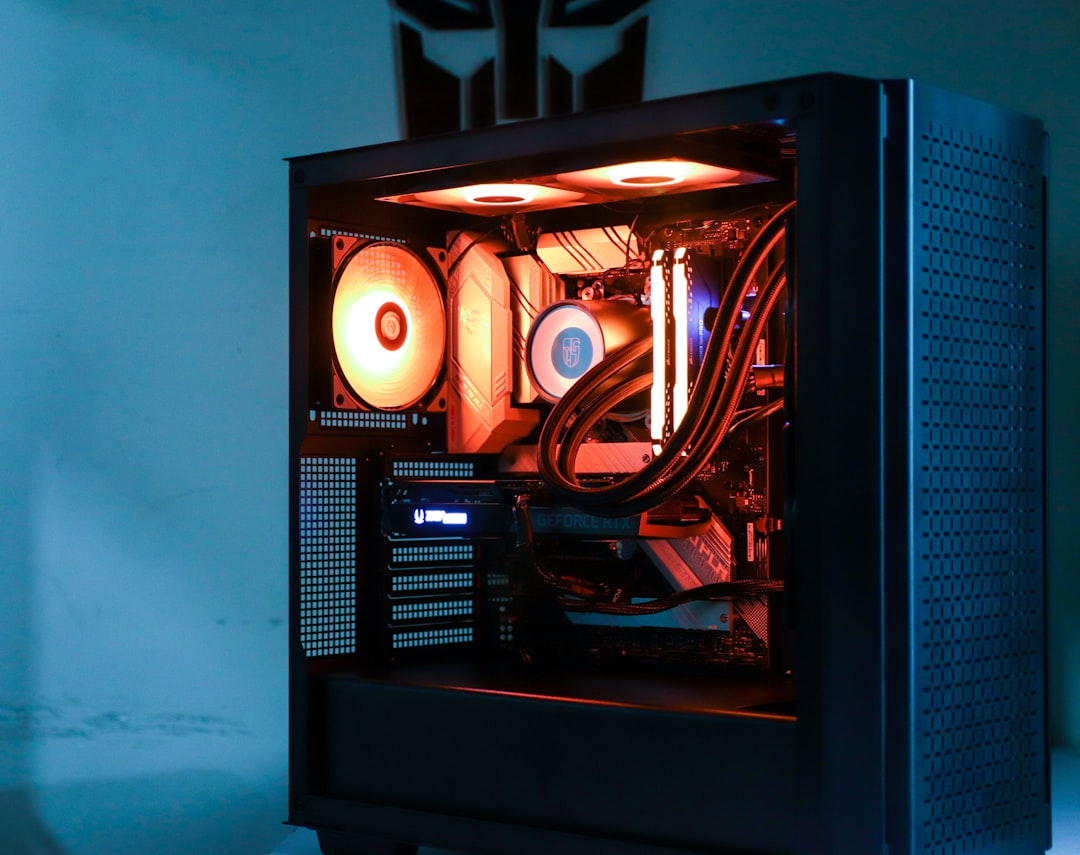
A good case makes assembly easier and keeps temperatures low. Look for tempered-glass side panels if you care about aesthetics, plenty of fan mounts, and a basement shroud to hide the PSU and cables. A well-ventilated ATX mid-tower case handles full-size GPUs and 360mm radiators while staying easy to work in. Mid-towers hit the sweet spot for most builders, balancing space against desk footprint.
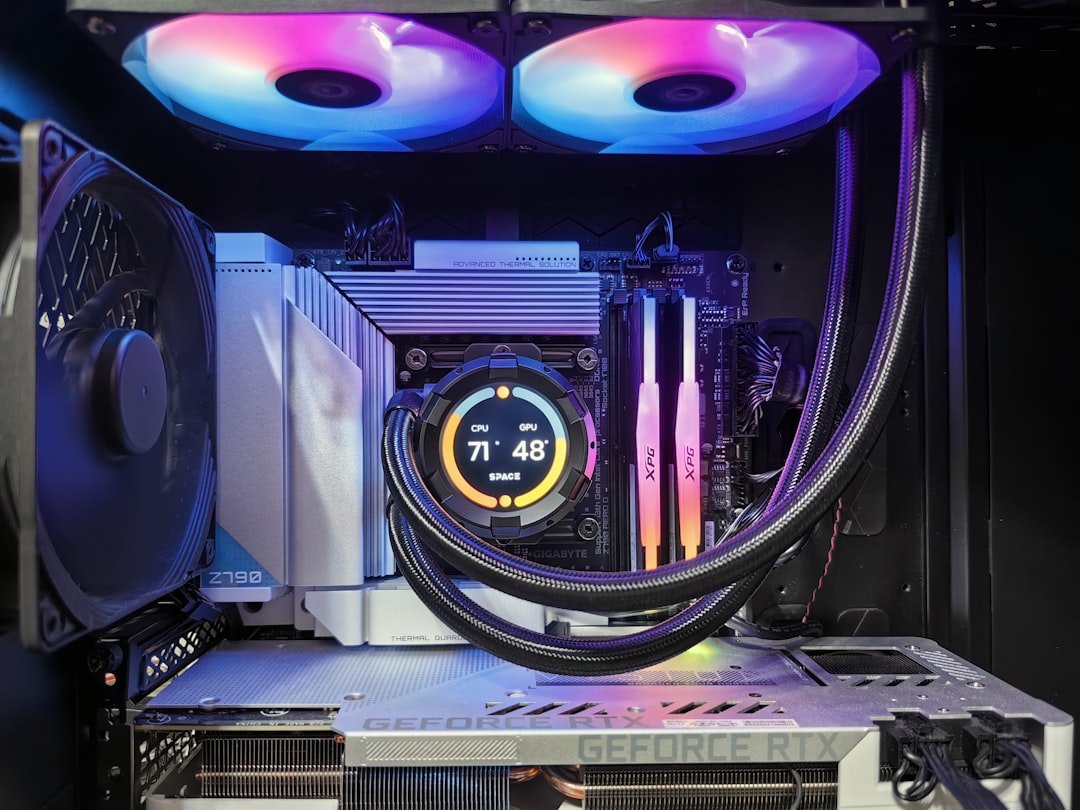
Understanding the Core Components
Before you assemble anything, it helps to understand what each part does and how they work together. The CPU (central processing unit) is the brain, handling game logic, physics, and AI. The GPU (graphics processing unit) renders everything you see on screen and is the most important part for gaming frame rates. The motherboard is the backbone that connects everything, supplying power and data pathways between components. RAM holds active data the CPU needs instant access to, while your SSD provides fast permanent storage for the operating system and games.
The power supply converts wall AC into the clean DC voltages your components need, and the cooler dissipates the heat your CPU generates. When you understand these roles, troubleshooting becomes intuitive: no display points to GPU or RAM, no power points to the PSU or cabling, and overheating points to the cooler. Beginners who grasp these relationships build far more confidently and diagnose problems faster when something goes wrong.
Planning Your Build Around a Budget
Smart builders allocate their budget before buying a single part. As a rough rule, dedicate the largest share to the graphics card since it determines gaming performance, followed by the CPU. Don’t starve the supporting components, though—a quality power supply and adequate cooling protect your investment and keep the system stable. Buying a balanced set of parts at your target price point delivers a far better experience than splurging on one flashy component while cutting corners elsewhere.
It also pays to think one upgrade ahead. Choosing a motherboard with an extra M.2 slot, a PSU with a little wattage headroom, and a case that fits a larger GPU means your first build can evolve rather than requiring a full rebuild. A modest amount of foresight here saves real money down the road and keeps your platform relevant for years.
Installing the Operating System
Create a Windows 11 installation USB on another computer using the Media Creation Tool. Boot from it, follow the prompts, and skip the product key step if you’ll activate later. Once you’re on the desktop, the first thing to do is install your motherboard’s chipset drivers and your GPU driver from NVIDIA, AMD, or Intel’s site. Run Windows Update, then install your games.
Common First-Boot Problems
If nothing happens, don’t panic. The usual culprits are a loose 8-pin EPS cable, RAM that isn’t fully seated, or front-panel power pins on the wrong header. No display but fans spinning? Reseat the GPU and RAM. A blinking debug LED on the board points you straight to the problem component (CPU, DRAM, VGA, or BOOT).
Frequently Asked Questions
How long does it take to build a gaming PC?
A first-timer should budget three to four hours, including reading manuals and cable management. Experienced builders knock it out in under an hour. Don’t rush—careful work prevents costly mistakes.
Do I need to apply thermal paste?
Only if your cooler doesn’t ship with it pre-applied. Most stock and aftermarket coolers come with a thin layer already on the contact plate. A pea-sized dot is plenty if you do apply it yourself.
Can I build a gaming PC without prior experience?
Absolutely. Parts are keyed so they only fit one way, and countless video guides exist. The hardest part is patience and double-checking connections before you power on.
Is it cheaper to build than buy pre-built?
Usually yes, especially during GPU sales. You also avoid bloatware and get higher-quality components like a better power supply and case for the same price.
What should I do first when it won’t turn on?
Check the PSU switch is on, confirm the 24-pin and 8-pin EPS cables are fully seated, and reseat the RAM. These three account for the vast majority of dead-on-arrival builds.
Final Thoughts
Building your own gaming PC is far less intimidating than it looks. Take your time, verify compatibility before you buy, and assemble methodically. The moment your rig posts for the first time and you see the BIOS screen, every minute of careful work pays off. Welcome to the hobby—your next upgrade is only a screwdriver away.