⚡ Key Takeaways
- As it builds up on fans, filters, and heatsinks, it acts like an insulating blanket that traps heat against your components.
- You do not need much to clean your PC properly, and using the right tools is essential to avoid damage.
- Just as important as knowing what to use is knowing what to avoid.
- Follow these steps for a safe, thorough cleaning.
Learning how to clean your pc safely is one of the most important maintenance routines for any gamer. Over time, dust accumulates inside your case, clogging heatsinks, coating fan blades, and choking airflow. The result is higher temperatures, louder fans, and in severe cases, thermal throttling that robs you of performance. The good news is that cleaning a gaming PC is simple, takes only a little time, and dramatically improves cooling and longevity. This guide walks you through the entire process step by step, explains which tools to use and which to avoid, and shows you how to do it without risking damage to your components.
Why Cleaning Your PC Matters
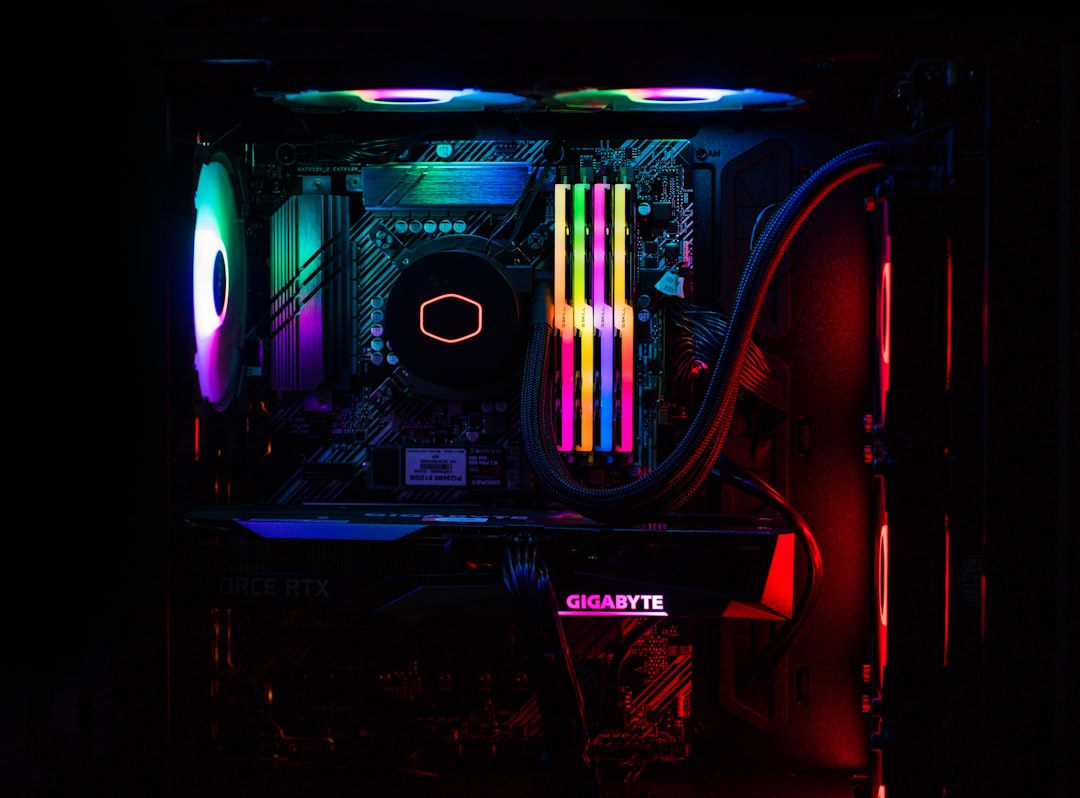
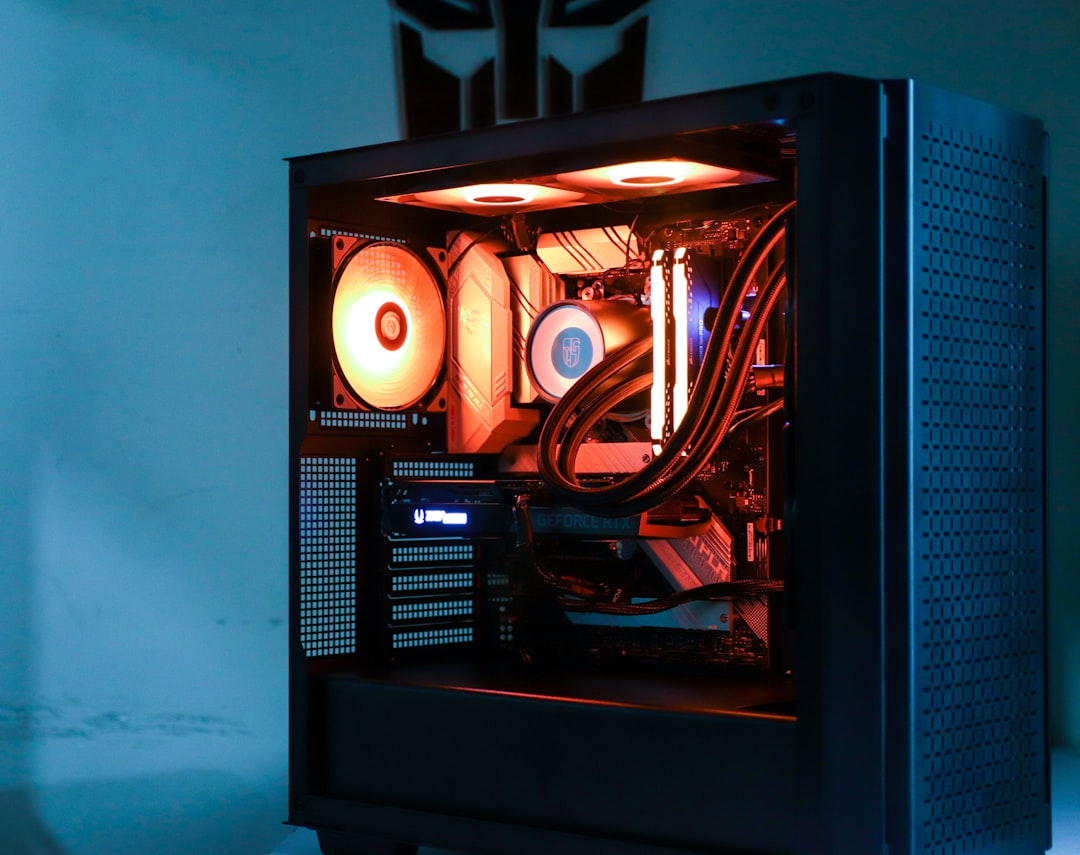
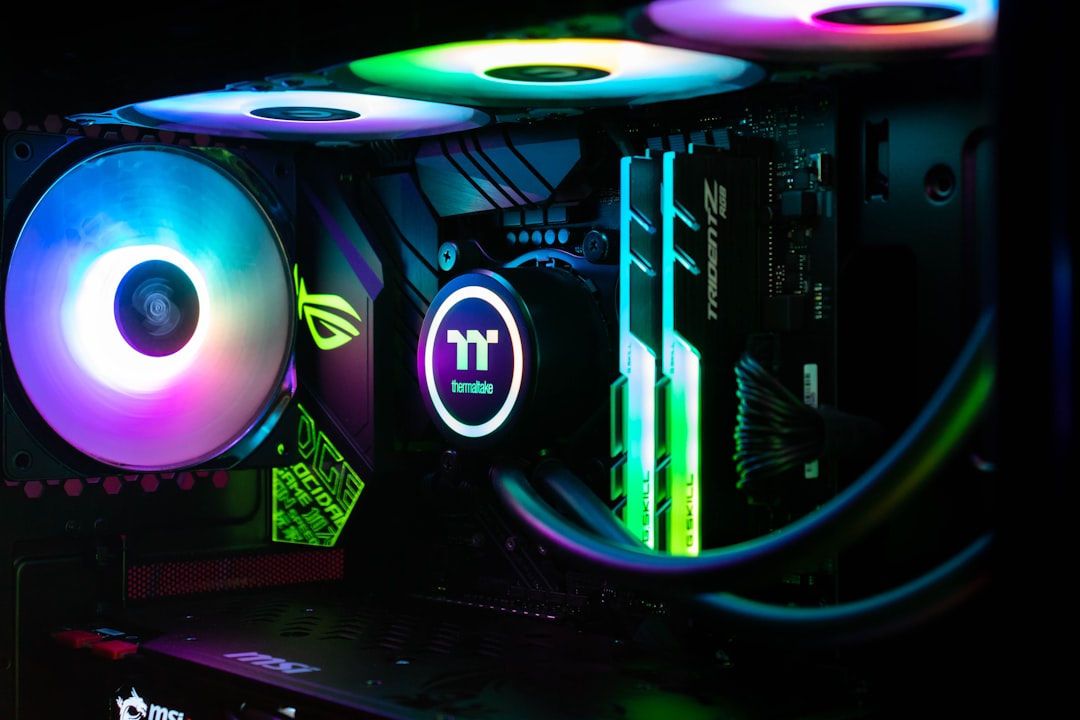
Dust is the enemy of cooling. As it builds up on fans, filters, and heatsinks, it acts like an insulating blanket that traps heat against your components. This forces your fans to spin faster and louder to compensate, and if the buildup is bad enough, your processor and graphics card can reach temperatures high enough to throttle their performance. Regular cleaning keeps air flowing freely, which means lower temperatures, quieter operation, and a longer lifespan for your hardware. A clean system also runs more efficiently, letting your graphics card sustain its performance under load.
Tools You Will Need
You do not need much to clean your PC properly, and using the right tools is essential to avoid damage. Here is what to gather before you start.
| Tool | Use | Notes |
|---|---|---|
| Compressed air can or electric blower | Blowing dust from fans and heatsinks | Use short bursts, keep upright |
| Soft anti-static brush | Loosening stubborn dust | Gentle on components |
| Microfiber cloth | Wiping surfaces and glass panels | Lint-free |
| Isopropyl alcohol (high percentage) | Cleaning thermal surfaces if needed | Only on appropriate parts |
| Screwdriver | Opening the case and removing parts | Match to your case screws |
What to Avoid
Just as important as knowing what to use is knowing what to avoid. Never use a household vacuum cleaner inside your PC, as it can generate static electricity that damages sensitive components. Avoid water or liquid cleaners on circuit boards. Do not spin fans rapidly with compressed air, since this can generate voltage that harms the system; instead, hold the fan blades still while you blow them clean. And never blow compressed air at extreme close range or tilt the can, which can spray cold liquid propellant onto your parts.
Step-by-Step Cleaning Process
Follow these steps for a safe, thorough cleaning. Working in a well-ventilated area or outdoors helps keep the dust out of your room.
- Power down and unplug. Turn off the PC, switch off the power supply, and unplug the power cable completely.
- Move to a clean workspace. Set the case on a stable surface, ideally outdoors or in a garage to avoid spreading dust indoors.
- Open the side panel. Remove the screws and take off the panel to access the interior.
- Remove dust filters. Take out the case’s dust filters and clean them separately, rinsing or brushing as needed.
- Blow out the dust. Use short bursts of compressed air to clear dust from fans, heatsinks, and corners, holding fan blades still.
- Brush stubborn buildup. Gently loosen caked dust with a soft brush, then blow it away.
- Wipe surfaces. Use a microfiber cloth to clean the case interior, glass panel, and any visible grime.
- Reassemble and reconnect. Replace the filters and panel, plug everything back in, and power on.
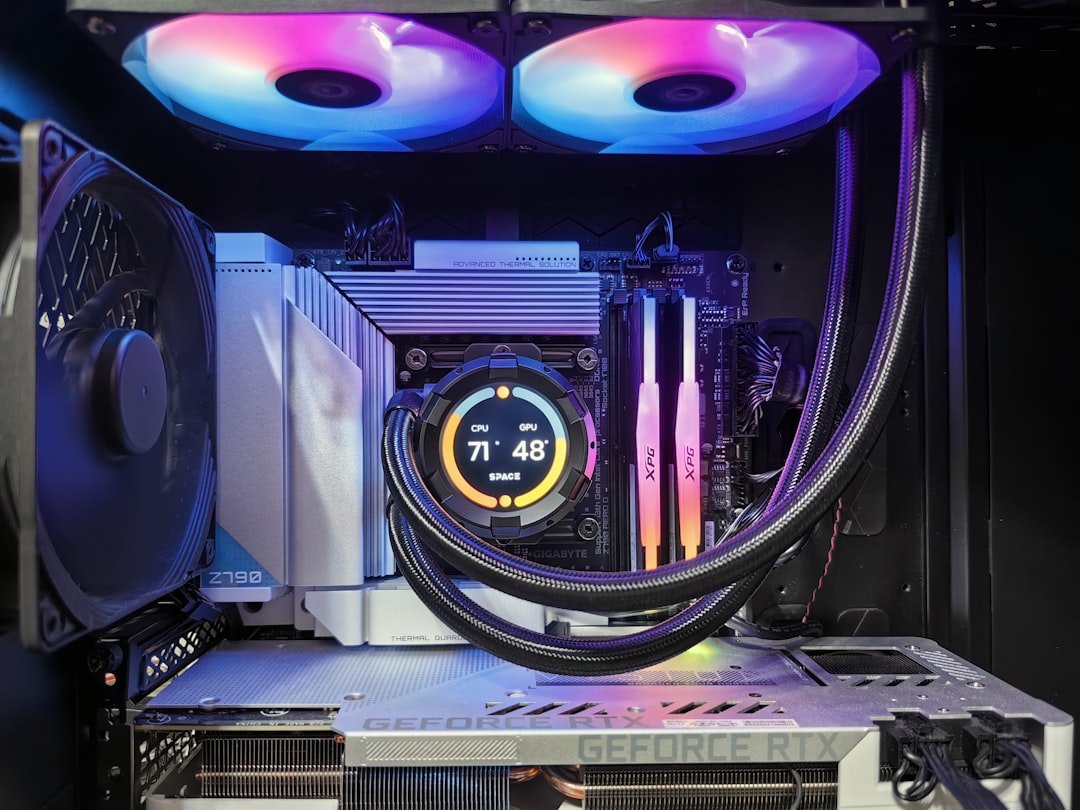
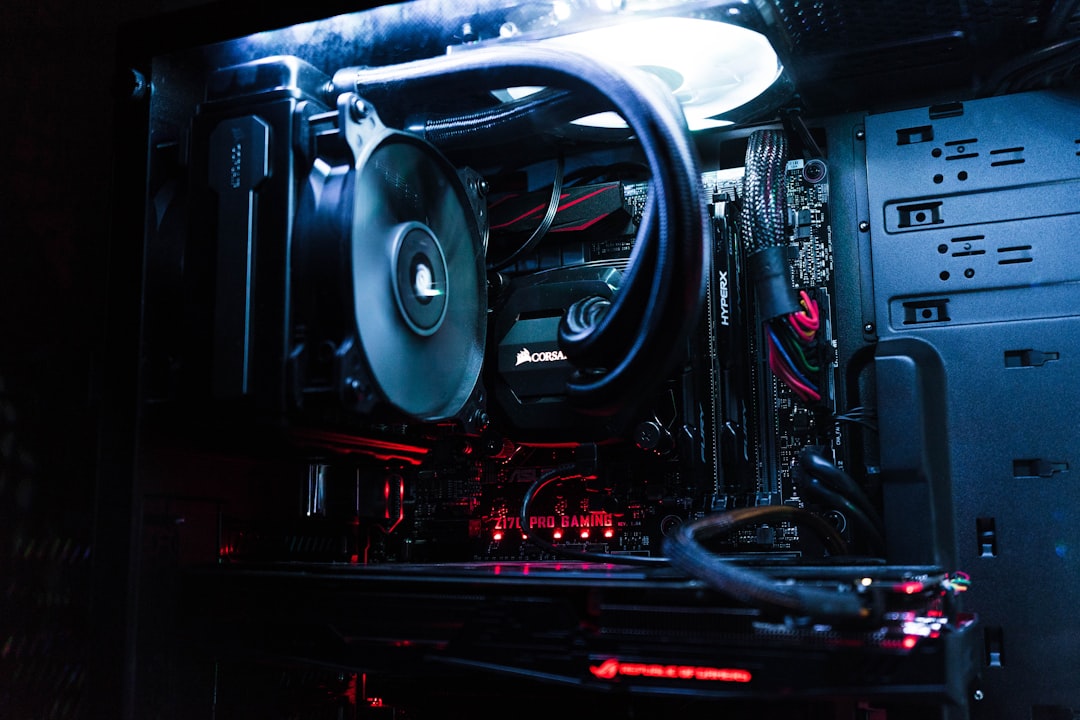
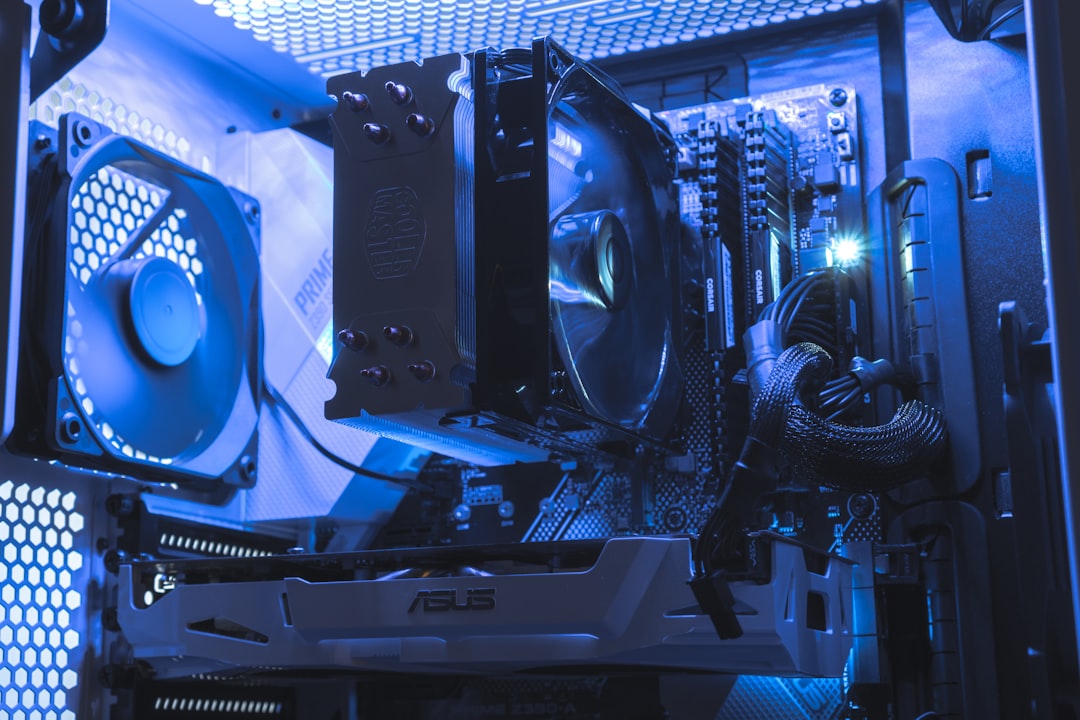
Cleaning Your Fans and Heatsinks
Fans and heatsinks collect the most dust because they handle the airflow. Pay special attention to your case fans, the cooler on your processor, and the fans on your graphics card. Hold each fan blade in place while you blow dust off it, working from multiple angles to dislodge buildup trapped between the fins of heatsinks. If your cooler is particularly clogged, a soft brush helps loosen the grime before you blow it out. Keeping these areas clean is the single biggest factor in maintaining good temperatures, which matters whether you run a strong air cooler or one of the best liquid CPU coolers.
Should You Reapply Thermal Paste?
While cleaning is mostly about dust, you may eventually want to refresh the thermal paste between your processor and its cooler. Over several years, thermal paste can dry out and become less effective, raising temperatures. If your PC is a few years old and runs hotter than it used to even after a thorough dust cleaning, reapplying fresh paste can restore lost cooling performance. This is a more advanced task that involves removing the cooler, cleaning off the old paste with isopropyl alcohol, and applying a fresh layer. It is not part of routine cleaning, but it is worth knowing about for older systems. A clean, well-maintained system also lets your gaming processor hold its boost clocks longer.
How Often Should You Clean Your PC?
A good rule of thumb is to clean your PC every three to six months, though the ideal interval depends on your environment. Homes with pets, carpet, or smokers tend to accumulate dust faster and may need more frequent attention. If you notice your fans getting louder, temperatures rising, or visible dust through the case, it is time for a clean. Investing in a case with good dust filters, like those highlighted in our mid-tower case guide, makes cleaning easier and slows dust buildup between sessions.
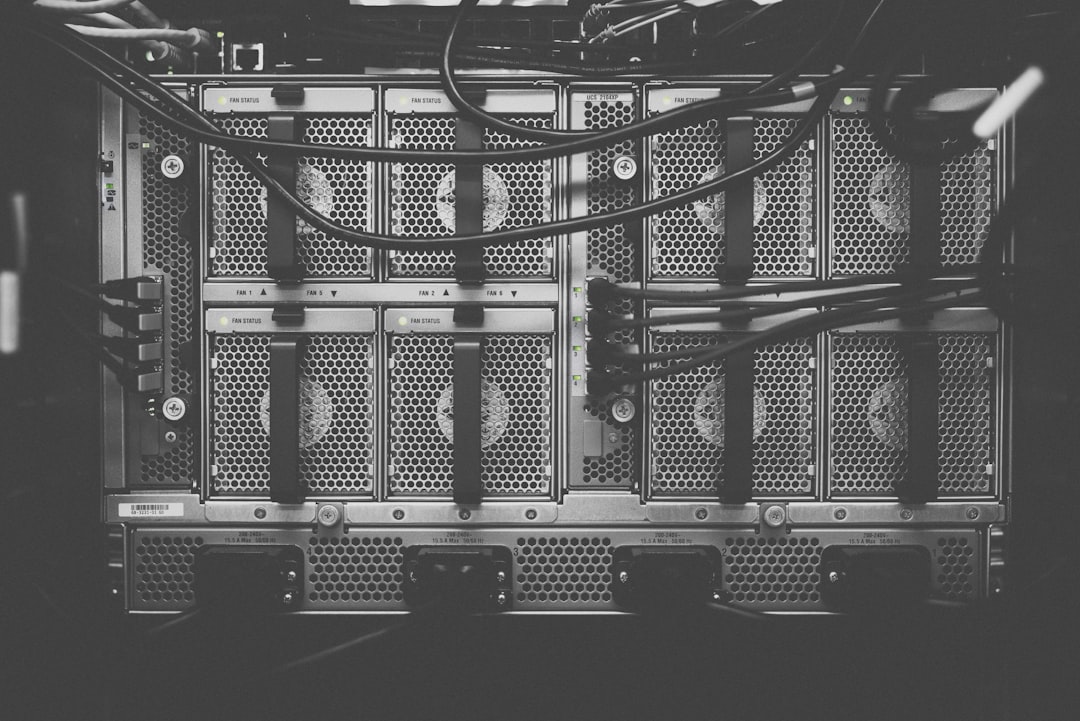
Cleaning Dust Filters the Right Way
Your case’s dust filters are the first line of defense against the grime that builds up inside, so keeping them clean is one of the highest-impact maintenance tasks. Most modern cases have removable filters at the intake points, often held in place by magnets or simple clips. Take them out and clean them separately rather than trying to blow dust off while they are installed, which just pushes the grime into the case. A soft brush handles light buildup, while heavier accumulation can be rinsed under water provided you let the filter dry completely before reinstalling it. Cleaning your filters more frequently than the rest of the interior, perhaps monthly in a dusty environment, dramatically slows how quickly dust reaches your components. Well-maintained filters mean less frequent deep cleans of the interior itself.
Preventing Dust Buildup Between Cleanings
Cleaning is important, but reducing how fast dust accumulates makes the whole job easier. The most effective strategy is maintaining positive air pressure inside your case, meaning your intake fans move slightly more air than your exhaust fans. This ensures most air enters through filtered intakes rather than being pulled in unfiltered through gaps and seams, so dust gets caught before it reaches your components. Where you place the PC matters too; keeping it off carpeted floors and away from heavily trafficked areas cuts down on the dust it ingests. Raising the case a few inches off the ground also reduces the amount of floor dust drawn in through bottom intakes. These simple habits stretch the time between cleanings and keep your interior cleaner for longer with less effort.
Frequently Asked Questions
Can I use a vacuum cleaner to clean my PC? It is not recommended. Standard vacuums can generate static electricity that may damage sensitive components. Compressed air or a dedicated electric blower is much safer. If you want to vacuum, only do so for filters and dust outside the case, never directly on circuit boards.
How often should I clean the inside of my PC? Every three to six months is a sensible schedule for most people. Dusty environments, pets, or carpeted rooms may require more frequent cleaning. Watch for louder fans and rising temperatures as signs that it is time.
Do I need to remove components to clean my PC? For routine dust cleaning, usually not. You can blow out most dust with the components in place. Removing the graphics card or cooler is only necessary for a deep clean or when reapplying thermal paste.
Is compressed air safe for all parts? Yes, when used correctly. Use short bursts, keep the can upright to avoid spraying liquid, and hold fan blades still so they do not spin. Avoid blasting air at extreme close range, which can damage delicate parts.
Will cleaning my PC improve performance? Indirectly, yes. Removing dust lowers temperatures, which prevents thermal throttling that can reduce performance. A cooler system also runs quieter and lasts longer, so regular cleaning protects both your performance and your hardware investment.
Conclusion
Cleaning your gaming PC is a quick, low-cost maintenance task that pays off in lower temperatures, quieter operation, and longer hardware life. Power down, use compressed air and a soft brush, avoid vacuums and liquids on circuit boards, and pay special attention to fans and heatsinks. Clean every few months, and consider refreshing thermal paste on older systems. With a clean interior and good dust filters, your PC will stay cool and perform at its best for years to come.