⚡ Key Takeaways
Get instant results in seconds — no signup.
- Loose cables block airflow, trapping heat around your CPU cooler and graphics card.
- Cable management does not require expensive gear.
- The single most effective cable management habit is planning your routing before you start connecting components.
- Follow these steps in order for the cleanest result.
Good pc cable management is the difference between a build that looks like a tangled mess and one that looks like it belongs in a showroom. But clean cabling is about more than aesthetics. Routing your wires properly improves airflow, lowers component temperatures, makes future upgrades painless, and reduces the chance of a stray cable bumping into a spinning fan. The good news is that you do not need to be a professional builder to achieve a tidy interior. With a few minutes of planning and a handful of zip ties, almost anyone can transform a chaotic case into something clean and functional. This guide walks you through the entire process, from prep work to the finishing touches.
Why Cable Management Actually Matters
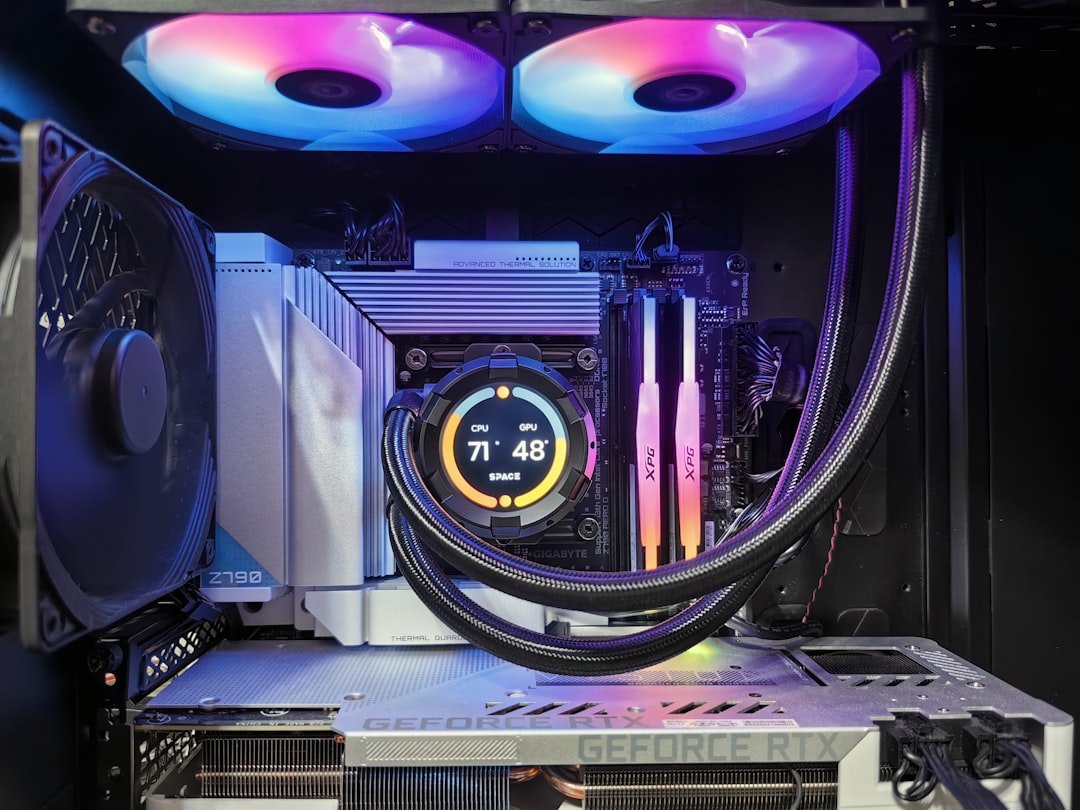
It is tempting to dismiss cable management as a purely cosmetic concern, but there are real performance and maintenance benefits at stake. Loose cables block airflow, trapping heat around your CPU cooler and graphics card. They can also obstruct fans, causing rattling noises or, in the worst case, a stalled fan and an overheated component. A clean build keeps air moving the way your case designer intended.
Beyond cooling, tidy cabling makes your PC far easier to work on. When you eventually swap a graphics card, add storage, or replace a failed part, you will not have to fight through a bird’s nest of wires to reach the component. If you are weighing your power supply options, our guide to the best 850W power supplies can help you choose a unit with the right cabling for clean routing.
Tools and Supplies You Will Need
Cable management does not require expensive gear. Most of what you need either comes with your case and power supply or costs just a few dollars. Here is a quick reference of the essentials.
| Item | Purpose | Approx. Cost |
|---|---|---|
| Zip ties | Bundling cables together | $3-$6 |
| Velcro straps (reusable) | Adjustable bundling for future changes | $5-$10 |
| Side cutters / flush cutters | Trimming zip tie tails cleanly | $6-$12 |
| Cable combs (optional) | Aligning sleeved cables for show builds | $8-$20 |
| Extension cables (optional) | Reaching far-apart connectors neatly | $15-$30 |
Plan Before You Plug Anything In
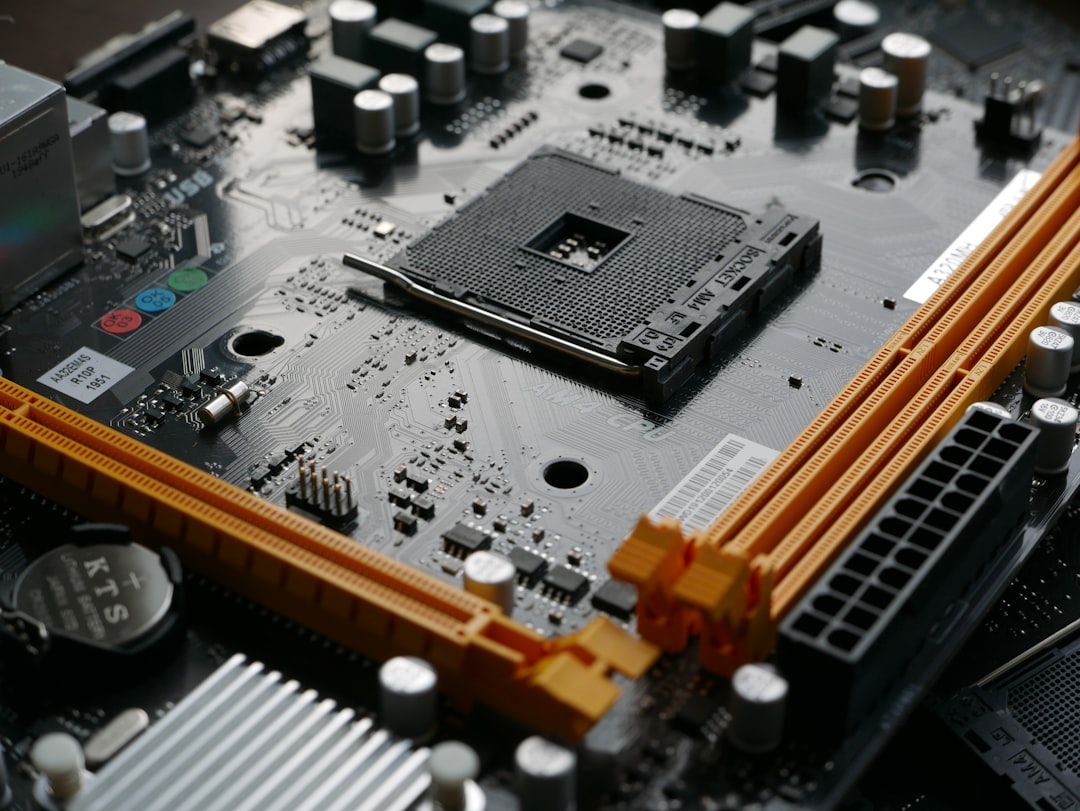
The single most effective cable management habit is planning your routing before you start connecting components. Look at where each connector needs to go: the 24-pin motherboard cable, the CPU power cable at the top of the board, the PCIe power for your graphics card, and the SATA cables for your drives. Most modern cases include cutouts with rubber grommets along the motherboard tray, plus a generous gap behind the tray for hiding excess cable.
A smart approach is to feed each cable through the case from the back before you fully mount the motherboard, leaving just enough slack on the front side to reach the connector comfortably. If you are choosing a chassis, a roomy case helps enormously. Our roundup of the best ATX mid-tower cases highlights models with deep cable channels and tie-down points.
Step-by-Step Cable Routing
Follow these steps in order for the cleanest result. Working methodically prevents you from having to redo work later.
- Install the power supply and motherboard first. With a modular unit, only attach the cables you actually need.
- Route the 24-pin and CPU power cables. Feed them behind the tray and bring them through the nearest grommet to each connector.
- Connect PCIe power for the graphics card. Run it up from the bottom or side, keeping it clear of fan blades.
- Wire up storage. Route SATA data and power cables along the back of the tray to your drive bays.
- Handle front-panel connectors. The tiny power, reset, USB, and audio headers route along the bottom edge of the board.
- Bundle and secure. Once everything works, use velcro straps and zip ties to group cables and anchor them to the case tie points.
- Trim and tidy. Clip excess zip tie tails flush and tuck any remaining slack behind the tray.
Hiding Excess Cable Behind the Tray
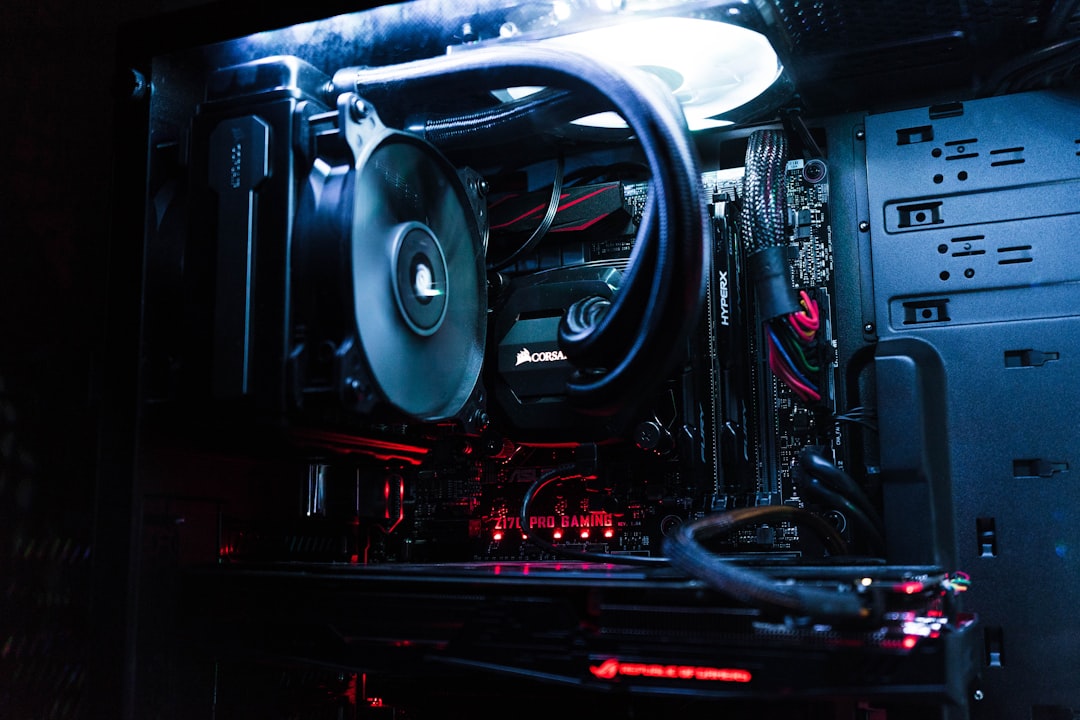
Almost every PC has more cable length than it needs. The space behind the motherboard tray exists precisely so you can stash that extra length out of sight. Coil long cables into loose loops and strap them down rather than cramming them flat, which can make the side panel bulge or refuse to close. If your case has a power supply shroud, use it to hide the bulk of your PSU cables entirely. A non-modular supply with permanently attached cables is harder to manage, so coil unused leads neatly and tuck them into an empty corner or drive cage.
Managing Cables in Small Cases
Compact and small-form-factor builds present a tougher challenge because there is simply less room to hide wires. In these systems, custom-length or shorter modular cables make a huge difference. Plan your fan and RGB cabling carefully, since lighting and fan hubs add a surprising number of extra wires. Mounting a fan or RGB controller on the back of the tray helps consolidate those connections into a single tidy hub rather than a dozen loose strands. Choosing components thoughtfully also helps. A capable but compact gaming CPU paired with an efficient cooler keeps the build manageable.
Finishing Touches for a Showcase Build
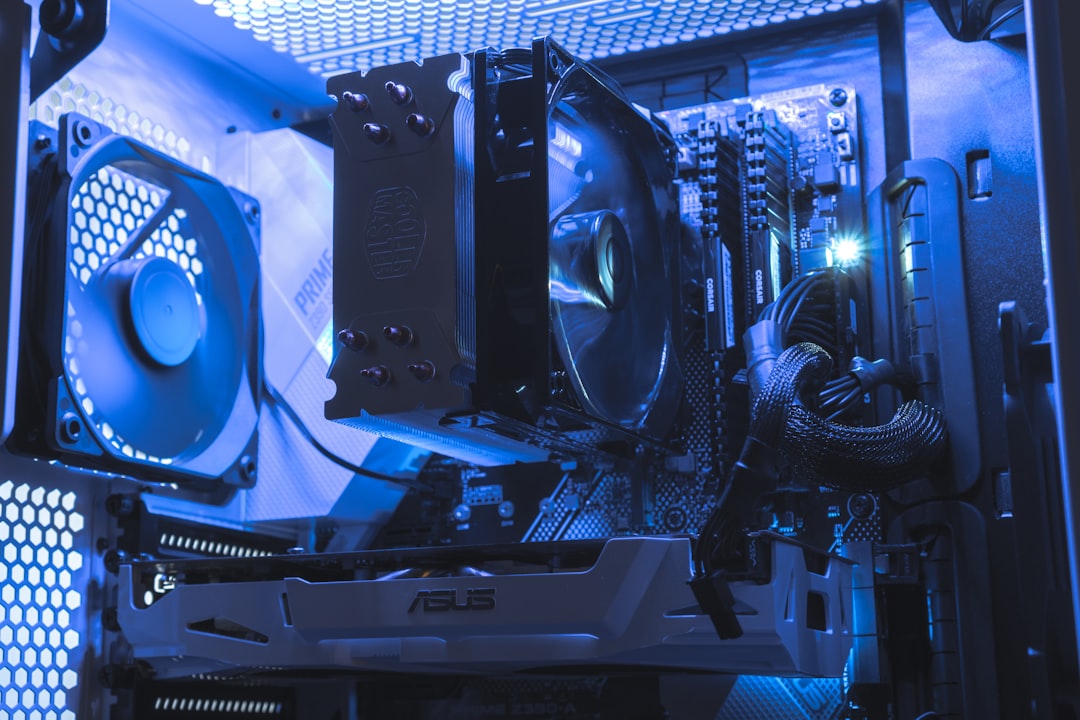
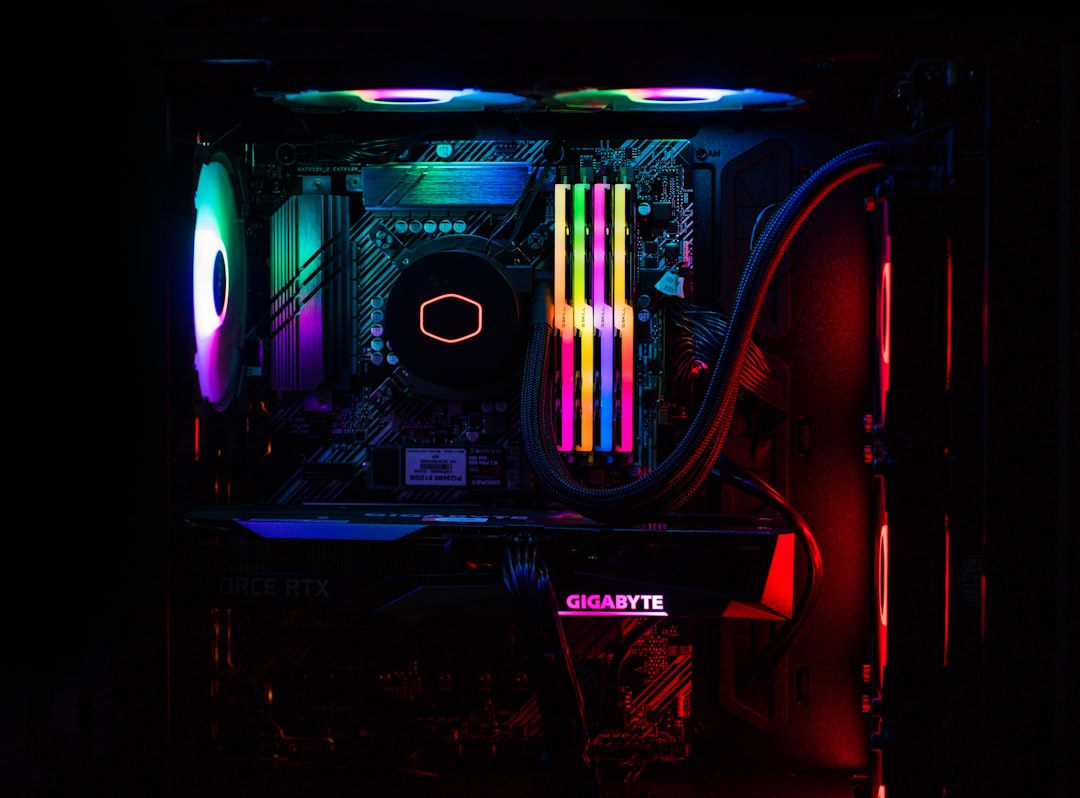
If you want your build to look truly polished, especially behind a glass side panel, a few extras go a long way. Sleeved or custom cables in colors that match your theme instantly elevate the look. Cable combs keep individual wires perfectly parallel for that pro aesthetic. Even without custom gear, simply taking the time to make every visible cable run straight and parallel, with no diagonal crossings, makes an enormous visual difference. A clean graphics card cable run also keeps the spotlight on your gaming graphics card, which is usually the visual centerpiece of any build.
Common Cable Management Mistakes to Avoid
Even with good intentions, builders often trip over the same handful of errors. The most frequent is cramming too much cable into the gap behind the tray, which makes the side panel bulge or refuse to seat properly. Coil excess length loosely instead. Another common mistake is over-tightening zip ties to the point where they pinch or deform the wires, which can stress the connectors over time. A snug, gentle hold is all you need. Many people also forget to route cables before mounting components, then find themselves trying to thread a stiff 24-pin cable through a tight space with the motherboard already in the way. Finally, do not ignore the tiny front-panel wires; left loose, they tend to drift toward fans and spoil an otherwise clean interior. Planning around these pitfalls saves you from redoing the job.
Cable Management and Future Upgrades
One underappreciated benefit of tidy cabling is how much easier it makes your next upgrade. When every cable is labeled in your mind and anchored to a known route, swapping a graphics card or adding a drive takes minutes instead of an exasperating hour of untangling. This is where reusable velcro straps shine over permanent zip ties, since you can release a bundle, make your change, and re-secure it without cutting anything. If you anticipate frequent hardware changes, lean on velcro for your main runs and reserve zip ties for cables that will never move. A little forethought during your initial build pays off every single time you open the case down the road, keeping your system flexible as your needs evolve.
Frequently Asked Questions
Do I really need to manage my cables if no one will see inside? Yes, at least for airflow. Even in a solid-panel case, loose cables can block fans and trap heat. You do not need a show-quality job, but basic bundling improves cooling and makes maintenance easier.
Are velcro straps or zip ties better? Both work well. Zip ties are cheaper and hold tighter, but they are permanent and must be cut to remove. Velcro straps are reusable, which is ideal if you upgrade often. Many builders use velcro for main bundles and zip ties for permanent anchor points.
Will a non-modular power supply ruin my cable management? Not at all. It just takes a little more effort to hide the cables you do not use. Coil unused leads neatly and tuck them behind the tray or inside the PSU shroud. A fully modular unit is more convenient, but a tidy build is achievable either way.
How tight should I make my zip ties? Snug enough to hold the bundle firmly, but not so tight that the cables are crushed or deformed. Over-tightening can damage thin wires over time. Aim for secure, not constricting.
Can poor cable management actually damage my PC? Indirectly, yes. A cable that drifts into a spinning fan can stall it, leading to overheating. Blocked airflow raises temperatures across the board, which shortens component lifespan. Tidy cabling is cheap insurance against these problems.
Conclusion
Clean cable management is one of the most satisfying parts of building a PC, and it pays off in better airflow, easier upgrades, and a great-looking interior. Plan your routing, use the space behind the tray, and finish with a few zip ties or velcro straps. Whether you are building a budget rig or a glass-paneled showpiece, a little patience with your cables makes the whole machine run cooler and look far more professional.