Affiliate disclosure: As an Amazon Associate we earn from qualifying purchases. This post contains affiliate links — we may earn a small commission at no extra cost to you. This never affects our picks. Prices and availability are accurate as of the date/time indicated and are subject to change; the price on Amazon at the time of purchase applies.
- Why disciplined cleaning matters more for builders
- The complete toolkit for a proper deep clean
- Step-by-step deep cleaning procedure
- Pitfalls that turn maintenance into damage
- Advanced pro tips for serious builders
- Frequently asked questions from builders
- Final thoughts for builders
- Related Guides
- Related Articles
- Related Articles
For builders, cleaning a gaming PC isn’t a chore — it’s a regular checkpoint where you inspect your own work and confirm everything still runs as designed. Every six months you pull the panels, work through the components in order, and come out with a verified clean build you trust for another half year. This is the full procedure used by builders who treat their PCs as long-term investments rather than disposable appliances, including the common pitfalls that turn maintenance into damage and the advanced moves that separate professional cleaning from amateur effort.
As an Amazon Associate we earn from qualifying purchases.


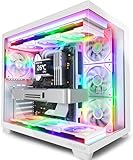


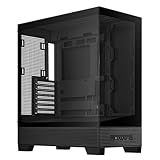
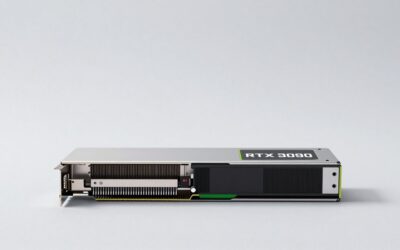
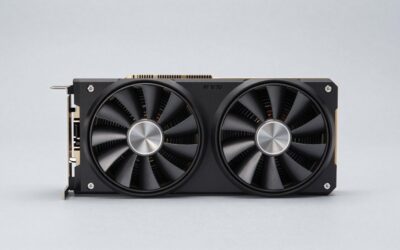
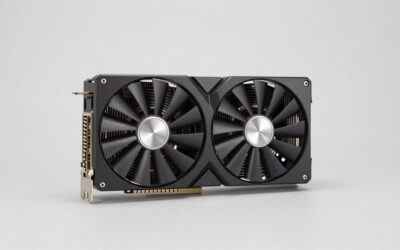
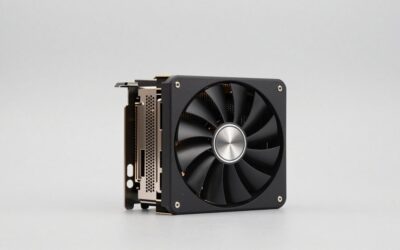
Quick answer: For a 2026 build, the our top pick is the graphics card we would build around, while the the value pick is the budget-friendly choice.
An honest framing note first. If your build currently runs within its thermal margins, your fans hold their expected RPM curves, and your dust filters look clean through the mesh, you don’t strictly need a deep clean right now. Preventative cleaning exists to head off problems, not to perform ritual. We recommend six months as the baseline interval for ordinary households, dropping to three months for builds in dust-prone environments — homes with pets, smokers, recent flooring renovations, or carpeted floors with the PC sitting near floor level. If you haven’t opened the case in two or more years and your thermals are creeping up, you’re overdue and this guide will help you catch up.
🛒 Best Price Today on Amazon
Prime members get fast, free shipping on everything above, plus member-only deals. New members get a 30-day free trial — cancel anytime.
Start 30-Day Prime Free Trial →See Today’s Amazon DealsWhy disciplined cleaning matters more for builders
Modern gaming hardware is exceptionally good at hiding thermal problems until they get severe. Both current-generation CPUs and GPUs run boost algorithms that aggressively downclock under thermal pressure long before any visible alarm fires. You might chalk up slightly slower gameplay or marginally lower benchmark scores to game updates or driver issues when the real cause is a heatsink matted with six months of dust. We’ve lost count of builders who hit the forums asking why their build feels slower lately, only to find after a thorough clean that performance snaps right back to launch-day levels.
The acoustic dimension is equally important for builders who invested in quiet cases, premium fans, and noise-isolating components. Dust acts as a thermal blanket on every heatsink in the system, which forces the fan controller to ramp every fan to maintain target temperatures. The result is a PC that is gradually getting louder month over month, with the increase slow enough that you stop noticing until you finally clean and realise how quiet the build was originally. Our quiet gaming PC buyers guide May 2026 bestsellers covers case selection for builders who prioritise acoustics, all of which require diligent cleaning to maintain their advantage over time.
The complete toolkit for a proper deep clean
Builders differ from casual users in how much they invest in the right tools before attempting maintenance. A proper toolkit pays for itself within a handful of cleanings and removes the friction that makes most users skip preventative maintenance.
The first essential is reliable compressed air. Builders increasingly prefer electric dusters over canned air, for several reasons. Electric dusters give unlimited continuous airflow without the freezing condensation canned air can produce when you hold the trigger too long. The unit cost amortises across many cleanings, usually beating canned air within three sessions. And the friction of running out of canned air vanishes entirely, which makes it more likely you actually clean on schedule. If you stick with canned air, keep the can vertical and use short controlled bursts to avoid venting liquid propellant.

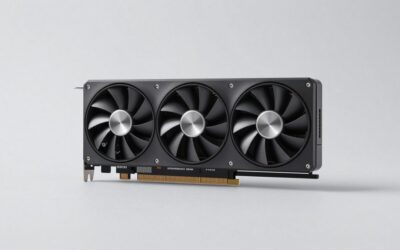
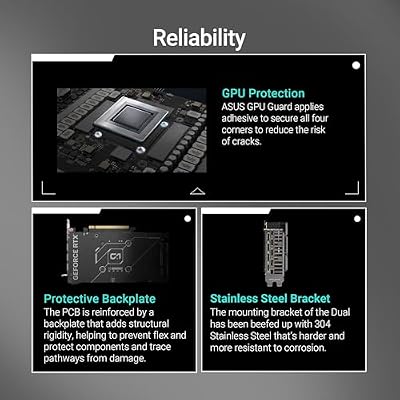
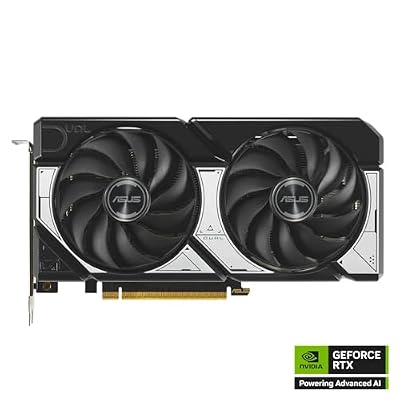
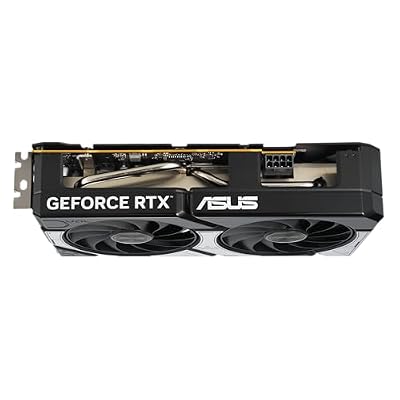
ASUS Dual NVIDIA GeForce RTX 5060 8GB GDDR7 OC Edition (PCIe 5.0, 8GB GDDR7, DLSS 4, HDMI 2.1b, DisplayPort 2.1b, 2.5-Slot Design, Axial-tech Fan Design, 0dB Technology), 3 Year Warranty






As an Amazon Associate we earn from qualifying purchases. Product prices and availability are accurate as of the date/time indicated.
For solvent work on the CPU integrated heat spreader, cooler base, and any other surface that contacts thermal paste, 99 percent isopropyl alcohol is the only correct choice. The 70 percent isopropyl from a typical pharmacy is 30 percent water, which is unacceptable near electronics. The 99 percent version evaporates cleanly without trace — exactly the property you want on surfaces about to be reassembled. A small bottle lasts years of regular maintenance.

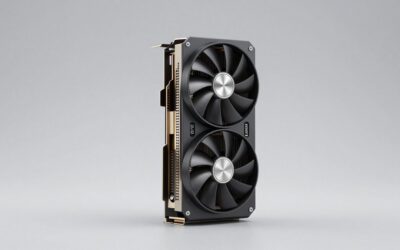
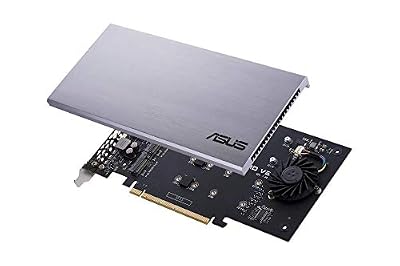
ASUS Hyper M.2 X16 PCIe 3.0 X4 Expansion Card V2 Supports 4 NVMe M.2 (2242/2260/2280/22110) Upto 128 Gbps for Intel VROC and AMD Ryzen Threadripper NVMe Raid


As an Amazon Associate we earn from qualifying purchases. Product prices and availability are accurate as of the date/time indicated.
An anti-static brush is essential for builders who clean their own systems. The bristles are conductive and the handle is designed to ground through your body, which prevents the static buildup ordinary nylon brushes generate. A static discharge into a memory module or PCIe device can cause permanent damage that doesn’t always show up immediately, which makes prevention far cheaper than after-the-fact diagnosis. The brush also reaches into dense heatsink fin geometries where compressed air alone struggles to shift compacted dust.

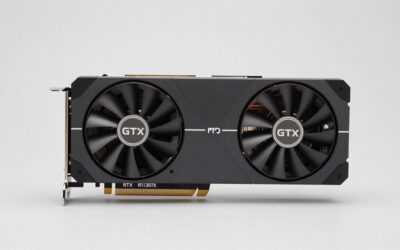
ASUS ROG Astral GeForce RTX 5080 16GB GDDR7 OC Edition Gaming Graphics Card | PCIe 5.0, HDMI/DP 2.1, 3.8-slot, 4-fan, Axial-tech Fans, Patented Vapor Chamber, Phase-change GPU Thermal Pad


As an Amazon Associate we earn from qualifying purchases. Product prices and availability are accurate as of the date/time indicated.
Beyond those three core items, a complete builder’s cleaning kit includes a Phillips screwdriver suited to your case screws, a magnetic parts tray to catch loose screws, three or four clean microfiber cloths, a small soft paintbrush for awkward dust pockets, a flashlight or headlamp for dark corners, and a handheld vacuum for catching airborne dust outside the case. Optional but useful additions: an anti-static wrist strap, a pair of nitrile gloves to keep skin oils off components, and a small spudger for prying stuck cables loose without damaging connectors.
Step-by-step deep cleaning procedure
Step 1: Complete shutdown and full disconnection
Save your work, close all applications, and shut down the OS properly through the start menu. Once the system is fully powered off, flip the PSU rocker switch on the back of the case to off, then unplug the power cable from the wall outlet. Disconnect every peripheral — display cables, keyboard, mouse, all USB devices, network cable, and audio interfaces. The goal is a fully de-energised system you can move freely without anything snagging.
Some experienced builders skip the wall unplug and rely on the PSU switch alone. We disagree for deep cleaning specifically, because deep cleaning means time spent with hands inside the case, and the marginal effort of unplugging at the wall buys absolute certainty that no current can reach the components while you work. Belt and braces is the right call when expensive hardware is on the line.
Step 2: Relocate to a properly ventilated workspace
Cleaning a PC indoors with the windows closed is how you discover exactly how much dust the case has been hiding, because all of it goes airborne in your living space. Move the PC to a garage, balcony, patio, or any space with proper ventilation and a floor you don’t mind getting a little dusty for a few hours. If outdoor access isn’t an option, lay down a drop cloth in a spare room with windows wide open, and accept that the room needs vacuuming afterward. Builders who clean regularly often set up a dedicated cleaning station in a garage or workshop with all the tools kept together.
Step 3: Ground yourself before any internal contact
Static discharge is the most common way home users damage hardware during cleaning. The voltage you can build walking across synthetic carpet on a dry winter day is more than enough to permanently damage memory modules, GPU PCBs, or motherboard components. Touch a known grounded metal surface before you start, and again periodically during the session. An anti-static wrist strap clipped to the unpainted metal of the case interior is the gold standard. Without a strap, frequently touching the case chassis with your bare hand covers most of it. Builders in dry climates should consider a humidifier in the workspace, since ambient humidity above 40 percent dramatically cuts static buildup.
Step 4: Remove case panels and front facia
Most modern cases use thumbscrews or captive screws to hold the side panels. Remove the main side panel first to expose the motherboard side, then the opposite panel for the cable management compartment. Many cases also have a removable front panel hiding intake filters and front fans, which absolutely needs to come off for proper access during a deep clean. Top mesh panels often pop off without tools too. Drop screws into your magnetic parts tray right away. The number of builders who’ve spent ten minutes hunting for a screw that rolled under a workbench is not zero.
Step 5: Photograph the interior thoroughly before disturbing anything
Take phone photos from multiple angles before you touch a single component. Capture cable routing, fan orientation, tubing arrangement if you run liquid cooling, RGB connector mappings, and any custom mods you’ve done over time. Builders who skip this step routinely end up with fans reinstalled backward, RGB cables in the wrong headers, or cables routed in ways that hurt airflow. The photos take 60 seconds and serve as a perfect reassembly reference. We also recommend photographing the back of the motherboard tray to capture cable management before you disturb it.
Step 6: Apply compressed air with every fan held still
This is the technique that separates safe cleaning from cleaning that damages hardware. When compressed air blows across a fan blade, the spinning fan acts as a small generator and produces voltage that can backfeed through the fan header into the motherboard and damage components. The damage is often silent because the fan keeps working but the header or a nearby controller chip is fried. Always physically hold the fan blade still with a finger before applying compressed air. For larger fans that are awkward to hold by hand, a small wedge of folded paper jammed between blade and frame locks it perfectly.
Work systematically from top to bottom so dust falls away from areas you’ve already cleaned rather than recontaminating them. Start with the CPU cooler heatsink, then the GPU heatsink fins, then the case fans in order, then the cable management compartment behind the motherboard tray. Use short controlled bursts rather than sustained airflow. The goal is to dislodge dust, not pressure-wash the components.
Step 7: Capture airborne dust with vacuum outside the case
A handheld vacuum held just outside the open panel catches most of the dust as it’s blown out, keeping it from settling back onto components or spreading through the room. This is where the absolute cardinal rule of PC cleaning applies. Never put a vacuum nozzle inside the case or directly against components. Air moving through plastic vacuum tubing generates significant static, and that static can discharge into your hardware and cause permanent damage. Always vacuum the air space outside the case, never the components themselves. Builders who learn this the hard way are usually replacing memory modules or graphics cards afterward.
Step 8: Assess and possibly replace thermal paste
Thermal paste doesn’t need replacing on a six-monthly schedule. Modern pastes hold effective thermal transfer for two to three years in typical use, and premium pastes can perform well for five years. Only replace paste during a cleaning if your build is over two years old AND temperatures are trending upward, OR if the build has crossed the five-year mark regardless of current temperatures. If your build is newer than two years and runs within normal thermal ranges, leave the existing paste alone. Preventative paste replacement adds risk — air bubbles, wrong application quantity, cooler misalignment, potential damage during cooler removal — with no benefit when the existing paste is still working.
If you do need to replace paste, remove the cooler carefully, wipe the old paste from both the CPU integrated heat spreader and the cooler base using a microfiber cloth lightly dampened in 99 percent isopropyl alcohol, allow both surfaces to dry for a minute, then apply a fresh pea-sized dot of new paste in the centre of the CPU before reseating the cooler with even pressure. This is a procedure worth its own dedicated tutorial. Builders working on prebuilt systems should check warranty terms before opening the cooler, as many manufacturers void coverage when factory thermal paste is disturbed. Our prebuilt gaming PCs buyers guide May 2026 bestsellers includes warranty notes for popular brands.
Step 9: Deep clean the GPU including fans and heatsink
The GPU is consistently the dirtiest single component in a typical gaming PC, thanks to its densely packed heatsink geometry and high airflow demands. After the initial compressed-air pass, sweep the heatsink fins with an anti-static brush to dislodge dust compacted into the fin spacing. A microfiber cloth lightly dampened with isopropyl alcohol cleans the shroud and exterior. Pay particular attention to the rear backplate, which often carries a fine dust layer, and the area around the power connectors, which can trap debris. Keep all liquid away from the PCB itself. For builders willing to take the time, pulling the GPU entirely and cleaning it on a workbench is the most thorough approach — but only if you’re comfortable reseating it correctly afterward.
Step 10: Wash dust filters and verify drying
Almost every modern case has removable dust filters over the intake fans. These are your primary defence against internal dust accumulation, and they only work when clean. Pop them out, rinse them under warm running water until the water runs completely clear, shake them firmly several times to remove excess water, and lay them flat on a clean dry towel to air dry completely. Do not put a damp filter back in the case under any circumstances. While the filters dry, wipe the filter mounting surfaces with a dry microfiber cloth to catch any dust the filter trapped on its inside surface.
Step 11: Reassemble with careful inspection at each stage
Once the filters are fully dry, reseat them in their original positions. Close the side panels and tighten the thumbscrews finger-tight, with no over-torquing. Confirm no cables are pinched at the panel seams. Reconnect peripherals one at a time, ending with the power cable last. Flip the PSU rocker switch back to on. Don’t skip a final visual inspection through the side panel window before you press power. A 30-second scan for anything obvious that got disturbed during cleaning has saved many builders from a panic boot.
Step 12: Boot test and thermal verification
Power on the PC and let it boot fully to the desktop. Listen for unusual fan behaviour or beep codes, watch for missing storage devices or error messages, and confirm all peripherals are recognised. Launch your monitoring tool of choice such as HWiNFO64 or the temperature widget in your favourite benchmark utility, and check that idle temperatures look reasonable for your specific hardware. Run a brief gameplay session or benchmark to verify load temperatures land in the expected range, ideally a few degrees lower than your pre-cleaning baseline. A typical thorough deep clean shows two to five degrees Celsius improvement under load, sometimes more if the build was heavily dust-loaded.
Pitfalls that turn maintenance into damage
Pointing a household vacuum nozzle at components
This is the single most damaging mistake well-meaning users make during cleaning. The plastic nozzle of a household vacuum can generate hundreds of volts of static, and discharging that into a memory module, GPU PCB, or motherboard component causes permanent damage that may not surface immediately. Always vacuum the air outside the case, never the components themselves. If you want suction cleaning of components, use a proper electronics vacuum with a grounded antistatic design, but for most builders the air-outside-the-case approach with a regular handheld vacuum is sufficient and safe.
Allowing fans to spin freely during compressed air application
The voltage a freewheeling fan generates can backfeed into the motherboard and damage fan headers or controller components. The damage is often silent because the fan keeps functioning but the header is degraded. Builders should treat this rule as absolute. Every fan must be held still before any compressed air touches it. No exceptions for fans that look like they aren’t spinning fast, or fans small enough to seem trivial. All fans, every time.
Forgetting the GPU during the cleaning routine
The GPU is typically the dirtiest component in a gaming PC and the most awkward to reach properly. Many builders do excellent work on the case fans and CPU cooler then skip the GPU because reaching into the lower compartment is inconvenient. If you only thoroughly clean one component, make it the GPU. It runs the hottest in most gaming workloads, pulls the most air, and collects the most dust. Skipping it largely defeats the purpose of cleaning everything else.
Using 70 percent isopropyl alcohol on components
The standard pharmacy strength of isopropyl alcohol is 70 percent, meaning the bottle is 30 percent water. Water near electronics is a bad idea, full stop. The 99 percent version evaporates cleanly with no residue and is the only acceptable choice for cleaning that involves component contact. The price difference is negligible and the safety margin is significant. Builders should keep a bottle of 99 percent isopropyl exclusively in their PC cleaning kit, separate from any general-purpose isopropyl used elsewhere in the house.
Reapplying thermal paste preventatively on every cleaning
If your CPU temperatures sit within normal range, leave the existing paste alone. Reapplication introduces real risk — air bubbles forming, wrong quantity applied, cooler misaligned during reseating, or damage during cooler removal. Paste only needs replacement when temperatures show measurable degradation over time, or as part of major component work like a CPU upgrade. Builders who reapply paste preventatively are taking on risk for no reward.
Closing the case before filters are fully dry
A damp dust filter installed in the case wets the surrounding area, can drip onto components below it, and creates an environment for mould or corrosion over time. Let filters dry completely before reinstalling, even if that means leaving the case open overnight. Builders in humid climates may want to use a hair dryer on the cool setting to speed drying, but never put a damp filter back in the case.
Advanced pro tips for serious builders
Build a permanent cleaning kit and keep it together
The friction of gathering scattered tools is the single biggest reason builders skip scheduled cleanings. Build a small toolbox or even a shoe box holding your electric duster, isopropyl bottle, brushes, screwdrivers, microfiber cloths, magnetic parts tray, and flashlight. Keep it accessible and grab the whole thing when cleaning time comes. Builders who keep a dedicated kit clean more consistently and more thoroughly than builders who hunt for tools each session.
Implement a temperature logging baseline
HWiNFO64 can log temperatures during a benchmark run. Capture a baseline right after every cleaning, then again at three months and at six months. The trend data tells you exactly how fast dust is degrading your thermals in your specific environment. This empirical data lets you tune your cleaning schedule to your actual needs instead of applying a generic recommendation. Some builders find they can stretch to nine months between cleanings in their environment. Others discover they should clean every three months. The data tells you definitively.
Photograph dust filter buildup at end of each session
Take a phone photo of your dust filters before you wash them at the end of each cleaning session. Six months later you have a precise reference for how dirty they typically get in that interval. Any substantial deviation from baseline tells you something in your environment has changed and the cleaning schedule should adjust accordingly.
Address the room environment as a higher leverage intervention
A clean environment around the PC cuts dust intake more effectively than any improvement in cleaning routine. Vacuum the floor under and around the PC twice a month. Keep shedding pets off the desk area. Lift the PC off carpeted floors with even a small wooden riser if relocation isn’t possible. Run a small air purifier nearby if dust is a persistent issue. Environmental improvements compound over time and pay dividends through every six-month interval.
Consider positive case pressure if dust is persistent
Builders fighting chronic dust accumulation should configure case airflow for slight positive pressure, with intake fan CFM exceeding exhaust fan CFM by a modest margin. That pushes air out through any unfiltered case openings rather than in through them, forcing all incoming air through the dust filters. The net effect over a six-month cycle is noticeably less dust inside the case. This adjustment costs nothing if you already have multiple case fans and pays back immediately in cleaner builds.
Frequently asked questions from builders
How often should a builder clean a gaming PC?
Six months is the baseline interval for builds in ordinary household environments. Drop to three months for builds in homes with shedding pets, indoor smokers, or recent flooring renovations. Stretch to nine or twelve months for builds in low-dust environments such as clean apartments with the PC on a desk rather than the floor. The empirical approach using temperature logs is more reliable than any universal rule.
Is an electric duster or canned compressed air better for builders?
Electric dusters are increasingly preferred by builders who clean regularly because the unit cost amortises across many cleanings, the airflow is unlimited and continuous, and you avoid the freezing condensation issue canned air can produce when held at the trigger continuously. Canned air remains acceptable for occasional cleaning. Keep the can vertical and use short bursts to minimise liquid propellant venting.
Can builders clean the inside of the power supply unit?
No. PSUs hold high-voltage capacitors that can retain a dangerous charge for a substantial time after disconnection. Opening a PSU housing risks serious injury. The only PSU cleaning you should do at home is compressed air directed through the exhaust grille from outside the case. If a PSU more than five years old is heavily dust-loaded internally, replacement is safer and often cheaper than attempted repair.
What temperature improvement should builders expect from a deep clean?
A typical thorough deep clean on a build that was six months overdue shows two to five degrees Celsius improvement in load temperatures, sometimes more if the build was heavily dust-loaded. A build already in good condition shows smaller improvements because there was less to remove. If your post-cleaning temperatures show no improvement at all and the system was visibly dusty beforehand, you may have missed a major dust accumulation point such as the back of a GPU heatsink.
Final thoughts for builders
A disciplined six-month cleaning routine is one of the highest-leverage maintenance activities a builder can perform. Twenty to thirty minutes of careful work twice a year prevents the slow thermal degradation that quietly saps performance, accelerates fan wear, and shortens hardware lifespan. Technique matters more than frequency. Doing it carefully twice a year beats doing it carelessly four times a year.
If your current build is approaching end-of-life and you are considering an upgrade, browse our current RTX 5070 buyers guide May 2026 bestsellers and our PCs for 1440p May 2026 builders guide for builds engineered with maintainability in mind. For builders weighing component choices that affect long-term cleanability, our mesh vs glass cases 2026 builders guide, air vs AIO cooling 2026 builders guide, and AMD vs Intel 2026 builders guide cover the relevant trade-offs in detail.
Set a recurring calendar reminder for six months from today. Assemble your cleaning kit in a single accessible container. Capture a temperature baseline after your next cleaning so you can track your specific environment over time. Your build will reward this discipline with years of consistent performance, a low acoustic profile, and minimal hardware failure.
Related Guides
Related Articles
Want to dig deeper? The hand-picked guides below run on the same scoring rubric used in this review.
Top picks from this guide
 Lian LiLian Li V100-ATX Mid-Tower PC Case-Black-V100RX | Side I/O USB-C…$75 \xc2\xb7 99/100
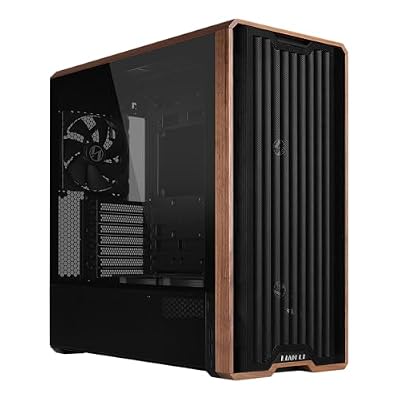 Lian LiLian Li LANCOOL 217 ATX Mid-Tower PC Case, 5 PWM…$120 \xc2\xb7 98/100
 Lian LiLian Li O11 Vision Compact ATX PC Case, Back-Connect, White…$120 \xc2\xb7 98/100
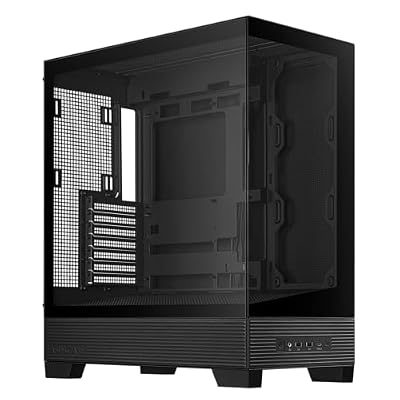 ASUSASUS A31 ATX Mid-Tower PC Case | Panoramic design, Support…$50 \xc2\xb7 98/100