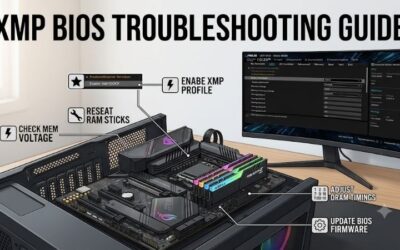
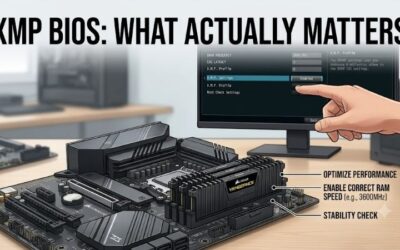
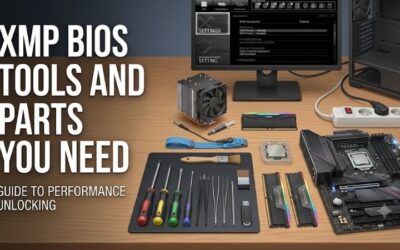
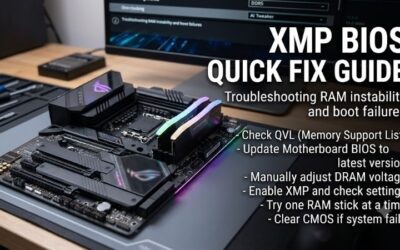
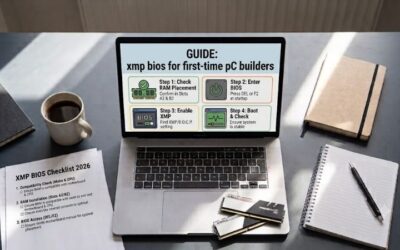
To enable XMP, restart the PC, press the BIOS key (often Delete or F2) during startup, find the memory profile option, select Profile 1, then save and exit. Until you do that, most RAM kits run at a default speed that is well below the number printed on the box.
The whole job takes five to ten minutes on a desktop. The steps below also cover the setting names used by different motherboard brands, a worked latency example so you can see what the change does, a table of failure symptoms, and the point where it makes sense to stop and swap parts. Editorial team guidance here is based on published specifications, manufacturer documentation and buyer reviews, and menu wording differs between BIOS versions, so treat label names as typical rather than exact.
What to confirm before you open the BIOS
Five minutes of checking saves an hour of troubleshooting later. Work through this list first.
- Kit and board agree on the standard. A DDR4 kit only fits a DDR4 board and a DDR5 kit only fits a DDR5 board, so the generation is already settled, but the advertised speed still has to be one your platform can reach.
- Modules sit in the right slots. With two sticks on a four-slot board, the manual usually points to slots A2 and B2 (counted from the processor). Wrong slots can leave you in single-channel mode.
- BIOS is reasonably current. Memory compatibility fixes ship regularly, and newer DDR5 boards in particular received many of them. Read the update notes for your board before flashing, and never interrupt a flash.
- One kit, not a mix. A matched kit carries a profile the maker validated for that exact pair of sticks. Two separate kits, even with the same label, can disagree on timings.
- Cooling is normal. Higher memory speed adds a little heat and load on the memory controller, so make sure case airflow is not blocked.
The setting goes by several names
XMP stands for Extreme Memory Profile, a format created by Intel. The same idea appears under different labels depending on who made the board and which profile type the RAM carries. The table lists the labels commonly seen, so you can recognise the right option fast.
| Where you see it | Typical label | What it loads |
|---|---|---|
| Intel platform, kit with XMP profile | XMP, XMP Profile 1 | Speed, timings and voltage stored on the module |
| AMD platform, kit with EXPO profile | EXPO, EXPO I | The AMD-format version of the same data |
| AMD platform, kit with XMP only | DOCP, A-XMP, or XMP (varies by board brand) | The XMP profile, translated by the board |
| Beginner-mode BIOS screen | Memory profile or one-click memory button | Usually the first stored profile |
If you cannot tell which type your kit carries, the product page or the sticker on the module normally states XMP, EXPO or both.
Step-by-step: turn the profile on
- Restart and open the BIOS. Tap the key the moment the logo appears. Delete works on most desktop boards, F2 on many others. If Windows loads anyway, use Settings, Recovery, Advanced startup, then UEFI Firmware Settings.
- Switch to advanced view if needed. Many boards open a simple page first. Press F7 or choose Advanced Mode, since the memory options sit on the overclocking or tweaker page.
- Look for the memory section. Common page names are Extreme Tweaker, AI Tweaker, OC, Tweaker or Overclocking. Look for an item called XMP, DOCP, EXPO or Memory Profile.
- Select Profile 1. The BIOS should then show the profile’s frequency, timings and voltage. Compare them with the label on your kit.
- Save and exit. F10 usually confirms. The PC reboots, and the first start can take longer than normal because the board retrains the memory, which is especially common with DDR5.
- Let it finish. A black screen for a minute or two on the first boot after a change is normal. Give it about three minutes before forcing a power-off.
For a longer walkthrough of the same menus, see our XMP guide for first-time PC builders.
A worked example: what the change is worth
Numbers help decide whether the extra steps matter. Take a hypothetical DDR5 kit labelled 6000 MT/s with a CAS latency of 30, running on a standard dual-channel desktop. Without the profile, the board may fall back to an assumed default of 4800 MT/s with CAS 40, which is a common baseline for DDR5. The figures below are calculations from those stated assumptions, not measurements.
| Setting | Speed (MT/s) | CAS | First-word latency | Peak bandwidth, dual channel |
|---|---|---|---|---|
| Default, profile off | 4800 | 40 | about 16.7 ns | about 76.8 GB/s |
| Profile 1 enabled | 6000 | 30 | about 10 ns | about 96 GB/s |
The method: first-word latency in nanoseconds equals CAS multiplied by 2000, divided by the transfer rate. Peak bandwidth equals the transfer rate times 8 bytes per channel times the number of channels. On paper that is roughly 40 percent lower latency and 25 percent more bandwidth. Real programs rarely scale that cleanly, and games respond less than synthetic memory tools, but the gap is the reason the profile is worth enabling on any modern build. A memory-hungry task such as large file compression or integrated graphics gaming benefits most, while a GPU-limited game at 4K may barely change.
Check that it worked
Do not assume success because the PC booted. Run this short checklist.
- Open Task Manager, go to Performance, then Memory. The speed line should read near the profile value, for example 6000 MT/s. Some Windows builds show MHz instead.
- If a monitoring tool such as CPU-Z reports half the figure (for example 3000 MHz for a 6000 MT/s kit), that is normal, because double-data-rate memory transfers twice per clock.
- Confirm total capacity matches what you installed. Missing capacity points to a module not seated or a failed channel.
- Run a memory stress tool or a long game session and watch for crashes, restarts or errors. Instability that appears only under load is the classic sign of a profile the system cannot hold.
- Note the date and the settings you used. If a later BIOS update resets everything to default, you will know what to re-enter.
Fixing common failures
Most XMP problems fall into a handful of patterns. Match your symptom in the table, then work down the fixes in order. Our dedicated XMP troubleshooting guide goes deeper on each one.
| Symptom | Likely cause | First fix to try |
|---|---|---|
| Black screen, fans spin, no picture after saving | Memory training still running, or profile too aggressive | Wait about three minutes, then power off, wait, and boot again; the board often recovers to safe settings on its own |
| Restarts in a loop | Profile not accepted by the board | Clear CMOS using the jumper, button or by removing the coin battery for a short while, then retry with a lower speed |
| Windows boots but programs crash | Marginal stability | Lower the speed one step manually, or raise memory voltage only within the kit’s rated value |
| Speed unchanged after enabling | Setting did not save, or four modules limit the speed | Re-enter the BIOS and confirm Profile 1 is still selected; with four sticks, expect a lower supported speed |
| Only half the capacity appears | Module not seated | Power down, unplug, reseat each stick until the latches click |
If the first fix fails, try one stick at a time in the first recommended slot, update the BIOS, and then check the memory vendor’s list of qualified boards. The what actually matters in XMP tuning article explains which of the optional tweaks are worth your time.
When to stop and replace or call support
Do not keep adjusting voltages in the hope of forcing a result. Stop when the PC will not boot even at default memory settings with a single module, when one stick fails in every slot while another works, or when stress tools report errors at stock speed. Those patterns point to a faulty module, slot or processor memory controller, not a settings issue.
At that point, contact the memory maker (kits usually carry a limited warranty) or the motherboard vendor, and mention the BIOS version and the exact kit part number. If you bought a high-speed DDR5 kit for a board whose compatibility list does not include it, returning the kit for a supported model is often quicker than chasing stability.
Frequently asked questions
Is it safe to enable XMP?
For a kit sold with an XMP profile on a board that supports it, enabling the profile is a widely used, manufacturer-intended step. Technically the profile is an overclock, so it sits outside the processor’s official memory spec, and some warranty terms treat that differently. If the system becomes unstable, switch back to the default setting and nothing is damaged.
Why is my RAM running slower than the speed on the box?
Memory modules start at a conservative default (often called the JEDEC speed) so any board can boot with them. The faster number on the label is stored as a profile that stays inactive until you select it in BIOS. Check Task Manager first, because a stick can also run slow if only one module is detected or a slot is empty.
What is the difference between XMP and EXPO?
XMP is Intel’s memory profile format, while EXPO is the equivalent AMD introduced for its DDR5 platforms. Many AMD boards can read XMP profiles too, under names such as DOCP or A-XMP, but a kit with an EXPO profile on an AMD board is the cleanest pairing. Check the memory vendor’s compatibility list for your board.
Should I use Profile 1 or Profile 2?
Start with Profile 1, which is normally the main advertised speed and timing combination. Profile 2, when a kit has one, is usually an alternative such as a lower speed or different voltage. Only switch if Profile 1 will not boot or fails a stability check, and read the values the BIOS displays before you save.
Do I need to reinstall Windows after enabling XMP?
No. The memory profile is applied by the BIOS before the operating system starts, so Windows treats the change as a new RAM speed and nothing more. If Windows fails to load afterwards, the cause is almost always an unstable memory setting, not a corrupted install, and resetting the profile should bring the system back.